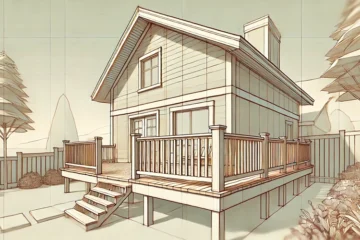
How to Build a Raised Decking Attached to the House
A deck can be built in a variety of ways. Attaching it to the house’s outside walls is one of the most typical methods. Many people want to raise it above ground level to avoid issues like moisture damage, insect infestation, and rot and decay. While many homeowners choose to have their composite decking built by professionals, it is possible to do it yourself. It can be difficult, especially for newcomers. You won’t need to employ tradespeople to build it for you if you have the necessary equipment, a helping hand or two, and the right advice. Here’s how to build a raised deck that’s attached to your home.
Design and Planning
The design and planning stage is the initial phase in deck construction. This step is crucial to the installation’s success. The layout of your deck is one of the few things you’ll have to think about. What size will it be in terms of height and width? What section of your home will it be attached to?
Aside from the design, you’ll need to decide on the materials you’ll employ. Pressure-treated wood or durable softwoods are the finest alternatives for the frame. Metal frame and composite lumber are also terrific choices. Wood is one of the cheapest options for flooring boards, but PVC is extremely durable. Composite decking is also a good alternative because it looks like wood and is long-lasting and sturdy.
You should think about your budget and set a deadline. Expect unforeseen costs, especially if this is your first time designing a deck. You’ll also want to allow enough time for the installation to be completed, taking into account any issues that may affect the job.
Finally, constructing a raised deck will necessitate the acquisition of licenses. When building and designing home improvement projects like decking, you must adhere to all standards and follow your local building codes.
Attach the Ledger Board
The first step is to secure the ledger board to the outer wall of your property. It’s a horizontal board that acts as a guide and anchor for your elevated decking. As a result, you’ll want to do everything you can to make this a success. Failure to do so may jeopardize your deck’s structural integrity and stability.
The size of the ledger board is determined by the deck’s design. When attaching it to your home’s outside wall, you’ll also have to adhere to various building codes. For example, they can advise you on which nuts or screws to use and how far the board should penetrate the walls while installing it. Before you can attach the ledger board to the wall, you’ll need to remove any siding or cladding. Using a spirit level, make sure it’s level.
Prepare the Foundation
After that, you’ll need to prepare the deck’s foundation in order to lay the footings and posts. To begin, draw a line around the region that corresponds to your design. If the deck will be closer to the ground, you may want to clear the grass and weeds from the installation area. Next, dig deck footing holes at least six inches below the frost line (the depth at which the earth freezes). The posts will be more stable as a result of this. Make sure the hole is plumb or vertically straight.
You can dig the holes by yourself or with machinery to make things easier. The bottom layer should then be compacted. To increase drainage, you can also fill it with a few inches of gravel. Finally, compact the hole by filling it with structural-strength cement. Allow a day or two for the concrete to dry before attaching the metal post anchor at the top.
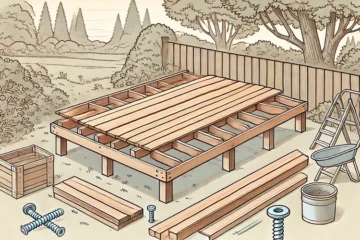
Attach the Beams, Posts, and Joists
Once the cement is dry, use structural screws to secure the deck posts to the metal footing anchor. Then start putting the support beams together. While sitting crown side up on top of the deck posts, attach them to the ledger board. The deck posts will need to be cut to the proper lengths. The rim joists should then be attached to both ends of the ledger board. Your deck’s outer frame is made up of them. Before screwing it in, make sure it’s square.
The following stage is to join the floor joists once the posts, beams, and rim joists have been attached. Depending on your local regulations, mark the joist spacing on the ledger board, which is normally 16 inches on center. Deck brackets are used to secure the floor joists. When necessary, bracing can be used. Finally, cut them to length and secure the front rim joist.
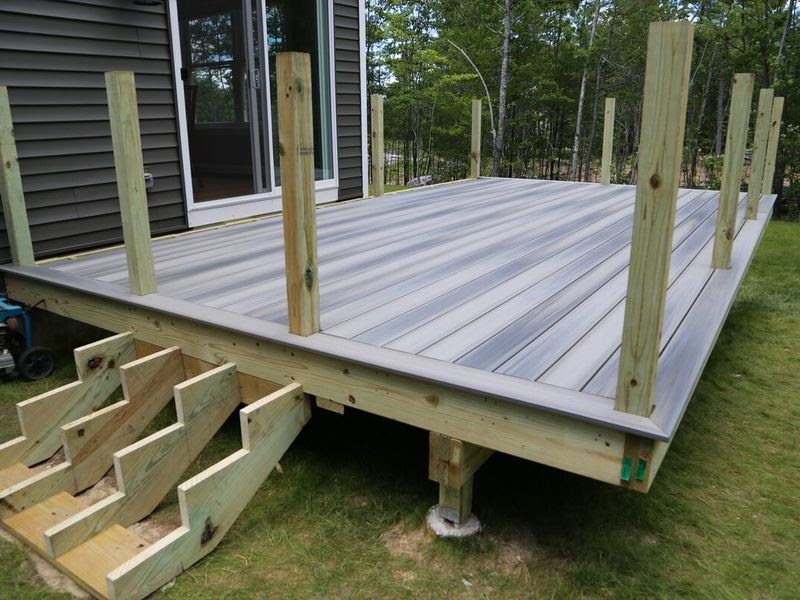
Install the Deck Rail Posts, Rails, Boards, and Stairs
After you’ve finished creating the subframe, you may begin adding the decking planks. They can be installed either within or outside the rim joists. Plan the distance between each post and use bracers and anchors to connect them. Install the decking boards next, beginning on the side closest to the house. Use your chosen fastening mechanism to secure them in place.
Finally, screw the top and lower rails into place on the rail posts. After that, attach the balustrades between the rail posts and install rail caps on the tops of the rail posts. Install the decking stairs if necessary. Prefabricated rails and steps are also available.
[source]